

Content
A maintenance crew at a mid-size packaging plant re-torqued the same conveyor drive bracket every six weeks for two years. A new lead then swapped the plain flat washer under the nut for a hardened tooth lock washer, and the bracket held torque through the next thirteen months of daily operation. Same bolts, same wrench, same vibration.
That result is the practical case for learning how to use lock washers with discipline. Bolted joints rarely loosen because the bolt is weak; they loosen because rotation steals clamp load a few degrees at a time. This guide covers assembly order, type selection, torque behavior, and the joints where a lock washer is the wrong tool.
A lock washer works by adding spring tension or biting friction between the fastener and the joint surface, so the nut or bolt head resists the back-rotation that vibration causes. Resistance to rotation, not raw strength, is the entire value of the part.
Two mechanisms dominate the category. Spring-type washers, such as split helical washers, act like compressed springs pushing back against the turning fastener. Tooth-type washers, internal or external, dig hardened teeth into both mating surfaces so rotation has to climb or shear metal. Both approaches only matter once the joint already has correct preload.
Install the lock washer on the rotating side of the joint, directly under the nut or bolt head that turns during tightening, so its spring or teeth fight the element most likely to back off. On metric assemblies, a hardened split washer made to DIN 127 is the workhorse version of that arrangement:
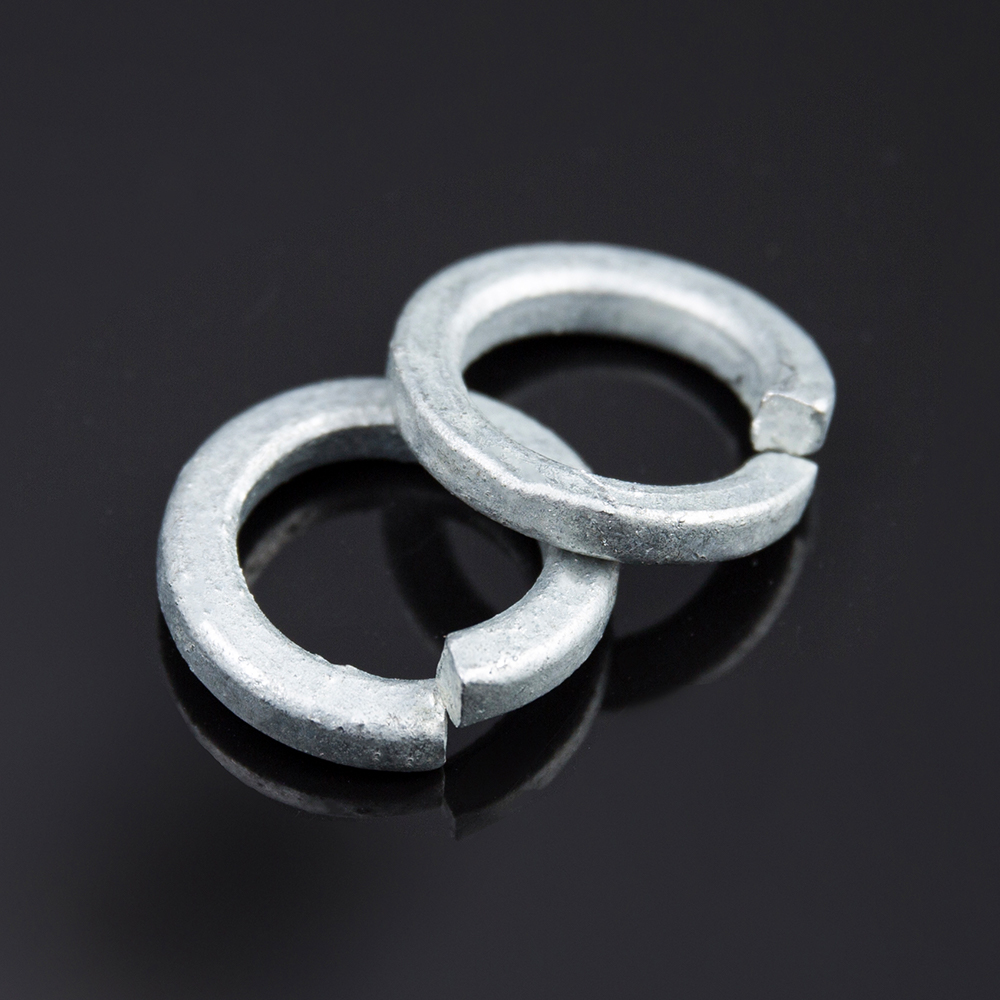 Metric Spring WasherProduct Overview The Metric Spring Washer is a precision-engineered, split-type fastener accessory designed for metric-sized bolted connections. It provides spring ten...View Product →
Match the washer to the motion and the surface. Split washers add axial spring for light-duty joints, external teeth give the strongest bite on the outer face, and internal teeth suit small heads and electrical bonding work.
| Type | Use it for | Watch out for |
| Split helical spring washer | Light-duty metric and imperial assemblies where axial spring helps hold the nut | Flattens under over-torque; weak resistance to transverse vibration |
| External tooth lock washer | Strongest tooth grip; vibrating brackets, housings, and rigid faces under large heads | Teeth mar the surface; a poor choice where the finish must survive |
| Internal tooth lock washer | Countersunk and small-head screws; widely used under heads for electrical grounding | Smaller bite circle than external types; needs a surface hard enough to bite |
External tooth washers carry their teeth on the outside diameter, which widens the bite circle and gives the highest rotational resistance in the tooth family. They are the default on vibrating brackets and sheet-metal housings where a large head bears on a rigid face:
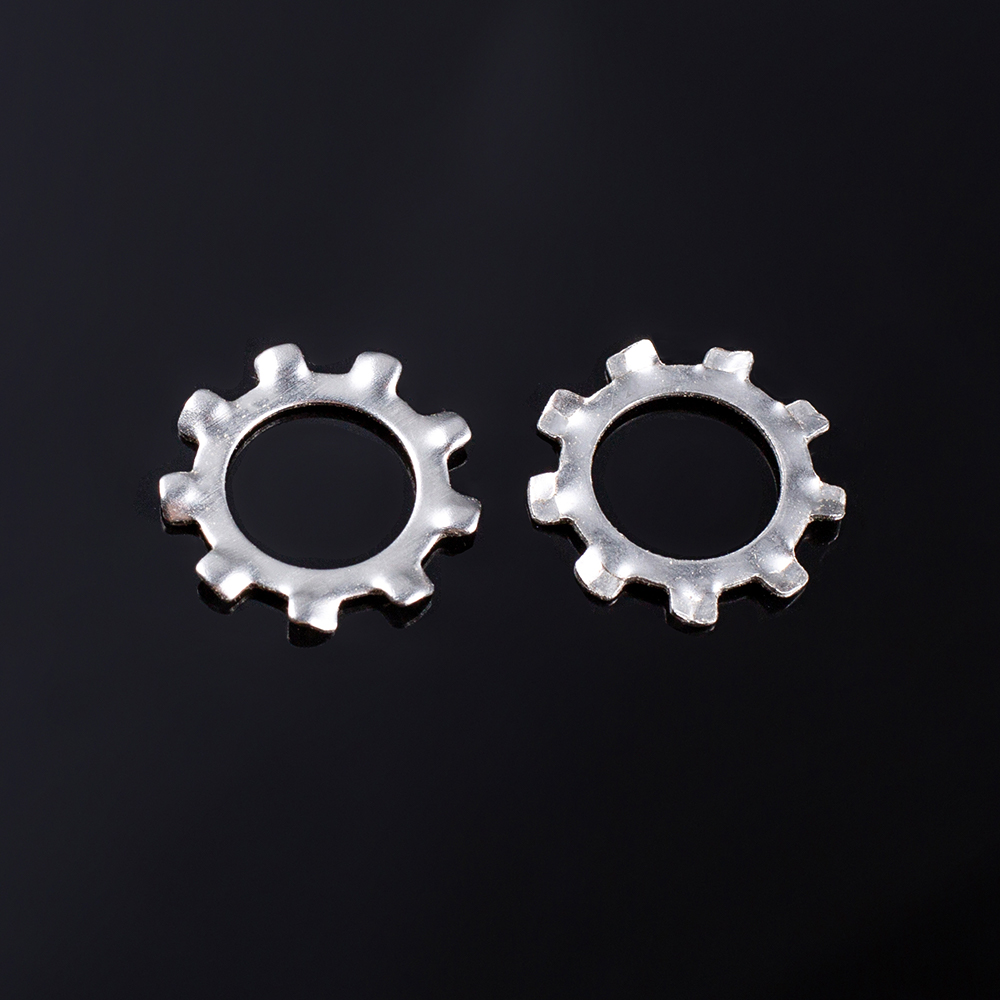 External Tooth Lock WasherProduct Overview The External Tooth Lock Washer is a serrated fastener accessory with teeth extending outward, designed to grip both the fastener head and mating surfa...View Product →
Internal tooth washers turn the teeth inward, tucking under small or countersunk heads; they appear often in grounding and electronic assemblies, where the teeth also cut through light oxide films to improve electrical contact:
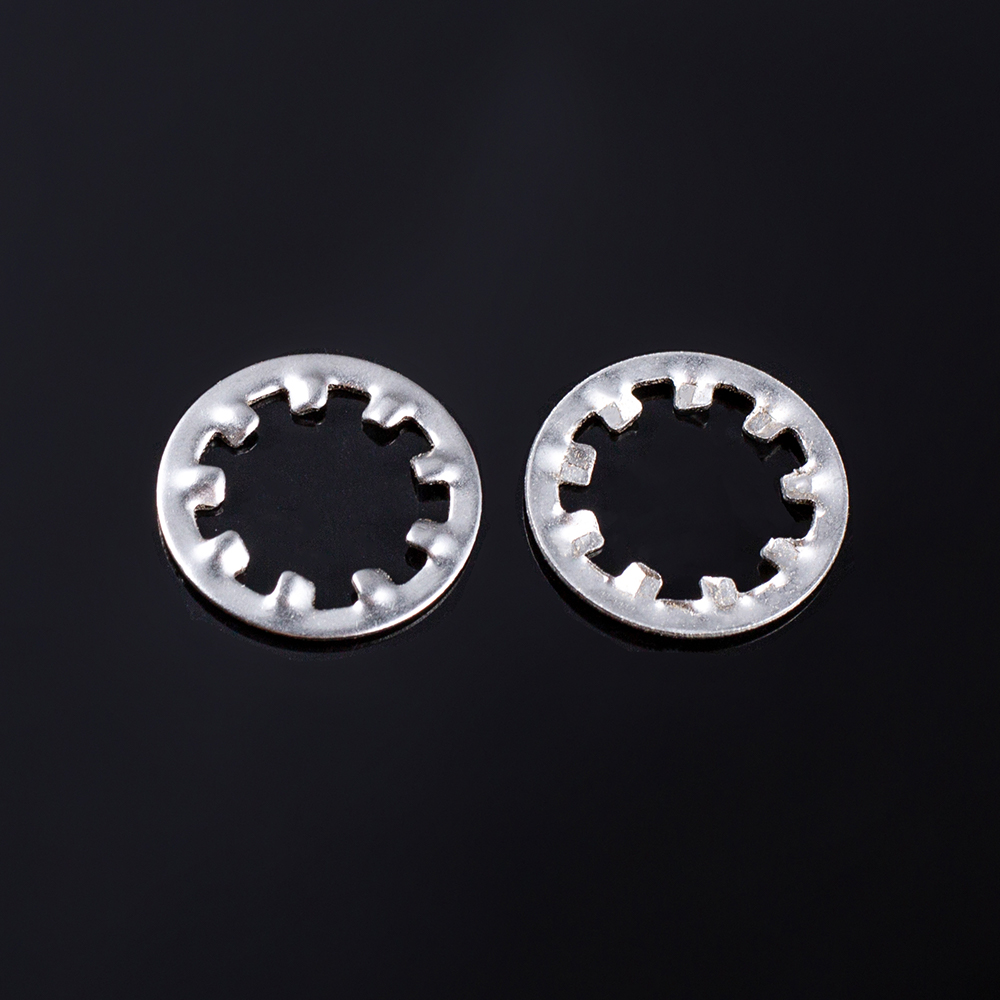 Internal Tooth Lock WasherProduct Overview The Internal Tooth Lock Washer features teeth oriented inward, making it ideal for use with small-diameter fasteners and applications requiring a low-...View Product →
For a deeper side-by-side, see our article on what sets external tooth lock washers apart from internal tooth designs.
Hardness match, clean faces, and honest torque control decide whether a lock washer survives in service, because each of those details changes either the bite or the preload itself.
Skip the lock washer on engineered structural joints, soft bearing surfaces, and high-temperature service, and spend the effort on preload control and the right locking device instead.
The ranking is consistent across published tests: spring-only devices sit near the bottom once side-to-side motion starts, which is why engineers move to tooth forms or wedge pairs for serious vibration.
Outdoor and marine assemblies add corrosion to the same problem, so pairing the washer with suitable base hardware, such as stainless steel bolts and washers, matters as much as the locking element itself.
Under the element that rotates during tightening, which is usually the nut. If the assembly is tightened from the head side, put the lock washer under the head instead. The rule is simple: fight the side that turns.
Stack them in order: flat washer against the joint, lock washer on top, then the nut. Never put a flat washer between the nut and the lock washer; the nut would spin on a slick face and the locking element would lose its grip.
Tighten to the fastener specification for the joint, not to a feel. Stop when the split washer's gap narrows but stays visible; a deliberately flattened washer contributes no spring, and the clamp load at that point comes entirely from the bolt.
Treat them as single-use parts. A split washer that has been fully compressed may not regain its temper, and a tooth washer with rounded teeth cannot bite again. The washer costs pennies; a loosened joint rarely does.






 English
 Español
 عربى
عربى